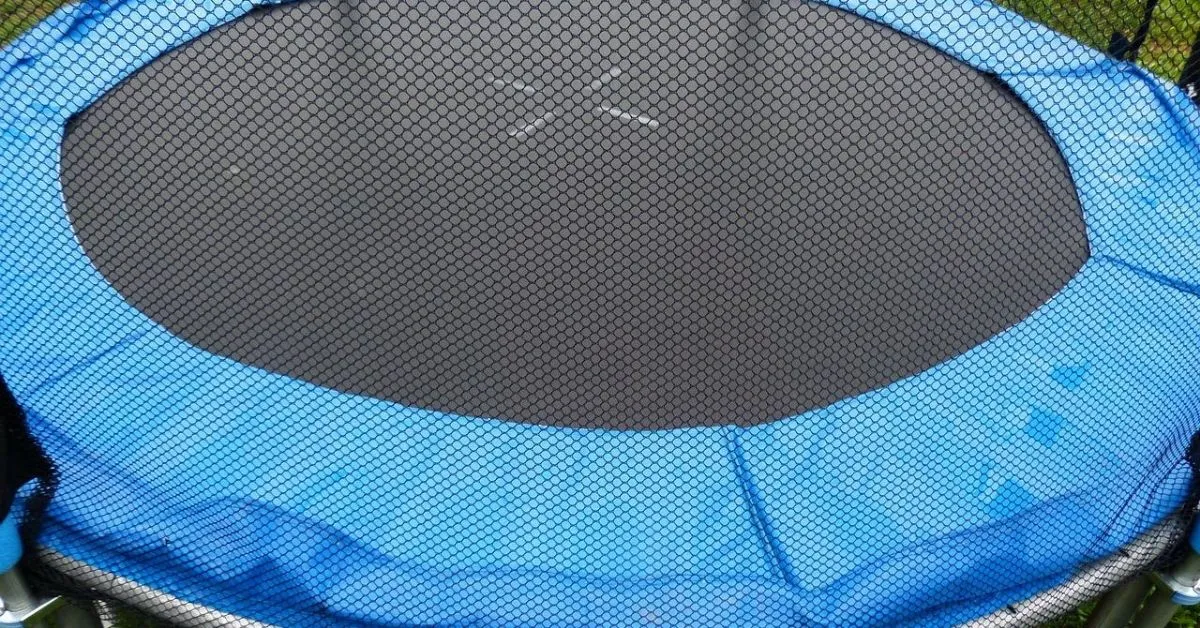
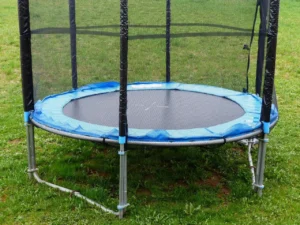
Trampolines are a fun and easy way to keep kids active and entertained, but they can also be dangerous if not set up correctly or used without proper supervision.
One of the main concerns with trampolines is that the netting surrounding the trampoline may tear or rip over time, requiring you to replace it with a new one.
A torn trampoline net can be extremely frustrating, but it doesn’t have to mean you need to replace the entire trampoline. Netting isn’t made to last forever and will eventually tear under normal use,
but with the right tools and a little bit of time, you can repair any tear to get your family back outside enjoying their trampoline again in no time.
If your trampoline net needs repair, it’s important to understand the process so you can fix it up properly. Here’s how to repair a trampoline net and get back to jumping around in no time!
Follow these instructions on how to Fix a Broken trampoline net and you’ll be ready to jump in no time!
Contents
Fixing Trampoline Safety Net
Your safety net for the trampoline should be an important component of your overall trampoline safety checklist. This will prevent accidents involving your children slipping off the trampoline.
If, on the other hand, it is ripped, such an outcome is impossible. Does the safety net for your trampoline have a large gaping hole in it?
There is a good chance that the safety net may suffer a little hole at some point; nevertheless, if your children continue to run, jump, and kick through the rip, it will eventually grow into a much larger hole.
Repairing the safety net at home rather than purchasing a new one for your trampoline, would save cost at least fifty dollars.
You may cut costs by doing something as basic as stitching up the tear in the trampoline safety net.
Be sure you utilize a big upholstery needle in addition to heavy-duty upholstery thread that is black in hue.
Start by sewing the thread into the netting, and then zigzag back and forth for every 0.5 inches along the ripped area of the safety net.
Continue doing this until the hole has been entirely repaired. As you progress upward, pull the thread more tightly. If you want to prevent the thread from unraveling in the future,
you should tie a knot at the very top of the patch.
Tools Needed
The first thing you’ll need is your tool kit. You should have all of these tools on hand in case you ever need to make repairs or adjust your trampoline.
Some of these tools are optional, but they can make things much easier—particularly if you’re working alone.
They include:
- Heavy-duty upholstery thread
- Large upholstery needle
- Fishing line
- safety gloves (heavy-duty for holding onto spring brackets and thin for reaching into small spaces),
- wire cutters/strippers, needle nose pliers, and an L frame tool.
- A good utility knife with replaceable blades is also important because cutting through the net can leave ragged edges that may not appear very safe.
- Finally, don’t forget about your measuring tape. It doesn’t have to be fancy; just something you can use to measure distances when adjusting components on your trampoline.
Step 1 – Cut the bad netting
Using a pair of scissors, cut out any bad or torn areas of your trampoline net. Only trim off bad parts of your trampoline net; leave any good parts behind.
If you’re only patching small holes and tears, you may be able to get away with trimming off only a very small amount of material – in these cases, trim just enough material so that your patch will cover whatever damage is underneath it.
If there are larger tears in your trampoline net, you’ll need to make bigger cuts; use whatever method is most appropriate for cutting your particular type of trampoline netting.
You can usually reuse most pieces from old nets by simply cutting them down (if necessary) and combining them with new material.
Step 2 – Measure and start working
You need to decide how much of your existing net you want to replace. You also need to get an idea of how long and wide you’ll need.
We suggest cutting each new piece about 12 inches longer than what it needs to be; that way, you’ll have plenty left over for tying off at each end.
To use the big upholstery needle, thread the upholstery thread through the eye of the needle. Check that the amount of thread on either side of the eye is the same, and then tie a knot on the side of the eye that is not being used.
Start on the right side of the trampoline’s hole in the safety net.
At the very top of the hole, you will need to draw the needle through the fabric of the safety net. You may proceed with the stitching by dragging the needle through the trampoline enclosure from the opposite side.
Repeat this process while moving approximately one and a half centimeters away from the initial location of the rip.
Keep pushing the needle and stitching the thread through the hole in the trampoline safety net until you have moved through the entire hole.
When you have reached the conclusion, give the upholstery thread a firm tug. Create a loop with the upholstery thread by passing it through the safety net one more time.
Pass the needle through the loop, then draw the thread very firmly. To make a double knot, simply proceed as described in the previous step.
Step 3 – Fishing Line
If you decide to use a fishing line instead of an upholstery thread, you will need to begin by making a loop, stitch it in the same manner as you would with upholstery thread,
and then end by making another loop and tying it off.
Step 4 – Test your work
Take your time when working on your trampoline net, as mistakes can be costly. The first and most obvious mistake is falling through.
Do everything you can to ensure that doesn’t happen, including having someone hold down one end of your trampoline net while you work on it. Be sure to clear away anything around or on top of your trampoline that could fall onto you if someone bumps into it,
including lawn furniture and items stored outside under an overhang (like above a deck). Before jumping onto your trampoline make sure no loose ends are trailing behind you, as these could get caught in springs or zipper pulls, resulting in injuries.
Step 5 – Double-check your work
Making sure you’ve double-checked your work is crucial when it comes to repairing trampoline nets. Always be aware of what you’re doing, take your time, and—more importantly—make sure you don’t rush. If in doubt, leave it out!
Once a trampoline net has been permanently damaged, there’s no going back. Double-check that everything fits before you put any pressure on it and follow these simple steps for safe workmanship.
Final Words
In conclusion, trampoline nets may seem like a difficult thing to repair and replace if you don’t know what you’re doing. However, if you take your time and follow these simple instructions, repairing your trampoline net is something anyone can do.
Remember that taking good care of your trampoline net means it will last longer, which in turn saves you money in replacement costs.

Since repairing trampoline nets isn’t expensive or time-consuming, there’s no reason not to do it right after every use! If that doesn’t work out for you one day, at least try before giving up on your trampoline altogether. It might be just what you need!
You should have gained a better understanding of how to repair a ripped trampoline and a safety net after reading this Post. After the repairs have been made to your trampoline,
you and your children may spend the afternoons and weekends together jumping and learning new tricks on the trampoline.